RV Winter Storage Checklist for Canada: Before the First Freeze
Winter storage is more than parking your RV and locking the door. Before freezing weather arrives, arrange model-specific plumbing winterization, protect the battery, inspect seals, remove food and moisture sources, and make a plan to check the RV through the season. This checklist is for RVs being stored rather than lived in during winter, including travel trailers, fifth wheels and motorhomes.
Safety and scope: Water heaters, plumbing valves, batteries, propane systems and motorhome chassis equipment vary significantly. Use the exact RV and component manuals; have a qualified RV technician perform procedures you cannot confidently verify. This guide helps you plan and check the work, rather than replacing equipment-specific service instructions.
When should you prepare an RV for winter in Canada?
Before the RV is exposed to freezing temperatures. Do not use the first snowfall as the deadline. A clear day can still be followed by a below-freezing night, and unprotected water in plumbing or appliances can cause costly damage. Jayco advises winterizing when an RV may encounter temperatures at or below 0°C (32°F), while noting that instructions differ by model. See Jayco’s winterizing advice.
In coastal British Columbia, persistent rain and condensation may be as important as overnight frost. In the Interior, Prairies and much of Eastern Canada, prolonged freezing increases the urgency of water-system preparation. These are climate considerations, not substitute instructions for your particular RV.
1. Confirm the plumbing winterization plan
Fresh-water tanks, supply lines, pumps, water heaters, toilets, showers, exterior faucets and optional appliances can contain water after a camping trip. Identify what is installed in your RV and check its manual. In particular, ask your dealer or service technician:
- Which water lines, tanks, drains and appliances need winter preparation?
- Does this model use a storage-tank or tankless water heater, and what does its manufacturer require?
- Are there outdoor showers, washer connections, ice makers or other easily missed outlets?
- Which method is approved for this exact RV, and how will the completed work be documented?
Do not assume a single procedure or product works for every plumbing configuration. Go RVing’s winter storage overview provides a useful overview and likewise directs owners to their manuals. Winter storage and drinking-water sanitizing are different jobs: bookmark our RV fresh-water sanitizing and safety guide for spring preparation.
2. Make a battery plan based on the actual battery type
A battery can lose charge while an RV sits, especially when small onboard loads remain connected. Battery-storage and charging requirements are not interchangeable between lead-acid, AGM and lithium systems. Identify the battery type, look up its manufacturer instructions, and confirm who will maintain or inspect its state of charge during storage. Never assume a general charger, disconnect procedure or cold-weather charging practice is safe for every installation.
Interstate Batteries’ storage FAQ explains why maintaining charge matters for lead-acid batteries and why a discharged battery is more vulnerable in freezing conditions. For lithium batteries, rely on the specific battery maker’s temperature and storage guidance.
3. Check the exterior, roof and weather seals
Inspect from a safe position for damaged or separated sealant, cracked trim, loose access doors, roof-edge concerns, and evidence of previous leaks. Ask an RV service provider to inspect any roof area that cannot be assessed safely from the ground. Clean and dry an awning before long-term storage, and use maintenance products approved for your RV’s materials.
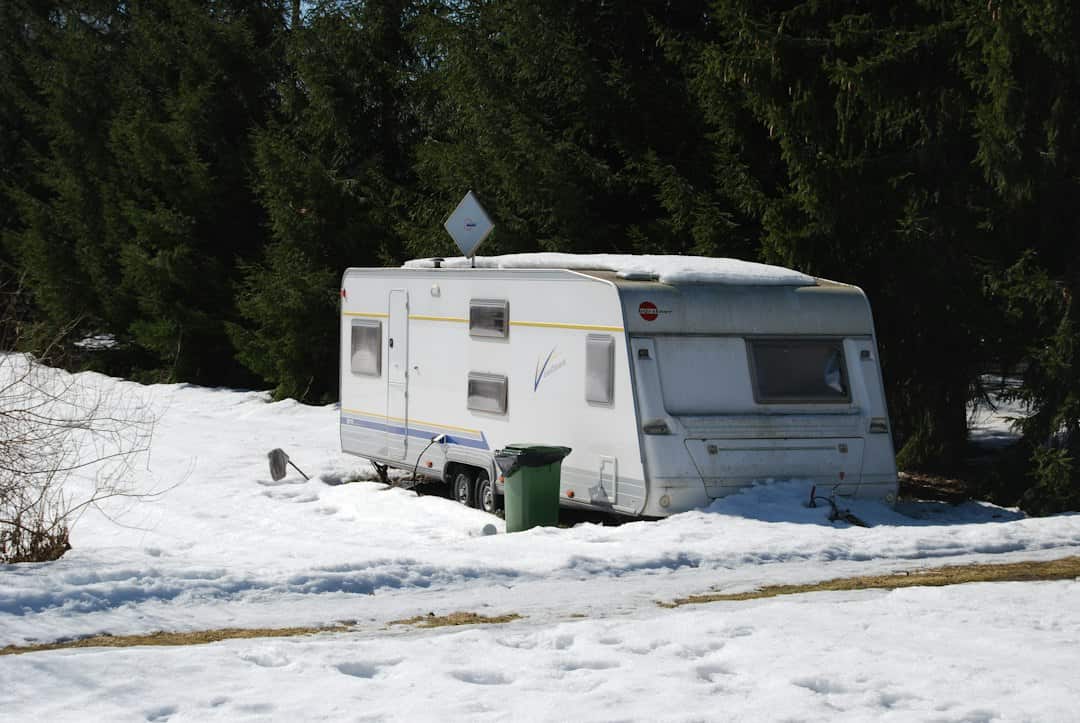
For outdoor storage, choose a location away from avoidable falling branches, standing water and snow-plough piles. An RV-specific breathable cover may be appropriate when installed according to the cover and RV instructions. A common plastic tarp can trap moisture or abrade finishes. Go RVing Canada’s storage advice discusses why ventilation and weather protection matter.
4. Prepare tires, parking and storage access
Confirm that the storage surface is stable, that tires are in suitable condition and inflated according to the RV or tire manufacturer’s instructions, and that the vehicle is secured using its approved parking equipment. Check whether the storage provider requires keys, access clearances, periodic visits or special insurance arrangements.
Do not use stabilizers or leveling devices as substitutes for the manufacturer’s prescribed parking and securement practices. If the RV will remain parked for months, check the tire maker’s long-term storage recommendations and examine tires again before the first trip.
5. Remove food and reduce moisture and pest problems
Empty perishable food, open packages, rubbish and anything likely to freeze or attract pests. Clean crumbs from drawers, seat bases and cupboards. Turn off, defrost, clean and dry the refrigerator as its manual directs, then follow its door-storage instructions. Keep soft furnishings dry and allow air circulation where possible.
Look for water marks, damp smells, wet carpets and rodent entry points. Address moisture or damaged seals before closing the RV for months. Do not obstruct required appliance combustion, exhaust or ventilation openings with improvised materials; ask a service professional about manufacturer-approved pest prevention. Camping & RVing BC’s humidity guidance is particularly relevant for wet coastal climates. Our separate RV condensation prevention guide explains how to recognize persistent moisture problems.
6. Review fuel, propane and safety equipment
Follow your RV and appliance manuals for storage configuration. Have suspected gas leaks, appliance faults, electrical defects, unusual odours or damaged fittings examined by qualified personnel instead of attempting an improvised repair. Check the service dates and condition of smoke, carbon-monoxide and other required safety alarms, and plan replacement or testing according to their instructions before the next trip.
Motorhomes also have chassis-related storage requirements that a towable trailer does not. Use the chassis maker’s guidance for tires, fluids, starting and service rather than assuming a blanket monthly-starting rule applies.
7. Set a realistic check-in routine
Leaving an RV unattended all winter should not mean ignoring it. Arrange access for periodic checks and after significant storms, particularly in outdoor storage. Look from safe ground-level viewpoints for pooling water, storm damage, shifted covers, pest activity and signs of roof or window leaks. Where snow or ice loads are a concern, consult the RV manufacturer’s limits and use a qualified service when removal is necessary. Do not climb a slippery RV roof.
Write down the storage location, emergency contact, insurance details, service records, battery-maintenance arrangements and the date the RV was last inspected.
Printable-style winter storage planning checklist
| Area | Before storage | During storage |
|---|---|---|
| Water system | Confirm model-specific winterization and any additional appliance requirements | Keep a record of completed service |
| Battery | Identify chemistry and approved storage/charging plan | Check according to battery-maker guidance |
| Roof and seals | Investigate visible wear or previous leaks | Recheck safely after severe weather |
| Tires and parking | Review tire condition, pressure and approved securement | Monitor surface conditions and access |
| Interior | Remove food; clean, dry and inspect for dampness | Look for condensation or pest signs |
| Safety and documents | Arrange qualified service, insurance and contacts | Keep check-in notes and service receipts |
Outdoor versus indoor RV storage: what changes?
Indoor storage generally limits direct exposure to weather but is not automatically heated or climate-controlled. Even an RV in an unheated building may need full winterization. Outdoor storage demands more attention to precipitation, wind, falling debris, pest access, snow load and cover compatibility. Ask whether the facility provides routine checks or whether you must arrange them yourself.
Before the first spring trip
Do not treat ‘stored’ as ‘ready to drive.’ Plan for a leak inspection, tire and running-gear assessment, safety-alarm checks, battery evaluation, and the correct return-to-service process for your plumbing and appliances. Our RV departure checklist is a companion for trip-day checks; our fresh-water guide addresses a separate part of water-system preparation.
Frequently asked questions
Can an RV be stored outdoors during a Canadian winter?
Yes, many RVs are stored outdoors, but the vehicle still needs the required freeze protection and weather, moisture and pest checks. A covered or indoor space may reduce exposure without eliminating maintenance.
Do I need to winterize an RV kept in an unheated garage?
Generally, plan for winterization if the RV may reach freezing temperatures. An unheated garage is not the same as a reliably temperature-controlled storage space.
Is a battery disconnect switch enough for winter?
Not necessarily. Some systems retain standby loads and batteries self-discharge. Follow the battery and RV manufacturers’ storage and charging instructions.
Should I store an RV with the windows open?
Do not apply a universal rule. Balance moisture control with weatherproofing and security, using the RV manufacturer’s ventilation guidance and only weather-protected openings when appropriate.
Sources and editorial notes
- Jayco: winterizing advice and freezing-temperature guidance
- Go RVing: winter RV storage checklist
- Go RVing Canada: storage and winter protection
- Camping & RVing BC: moisture control
- Interstate Batteries: battery storage guidance
Editorial note: This is a research-based storage planning guide, not a record of a specific RV winterization or equipment test. Illustrative images do not represent a documented repair or visit. Last researched October 25, 2026. Recheck manufacturers’ instructions whenever an RV model or component changes.