
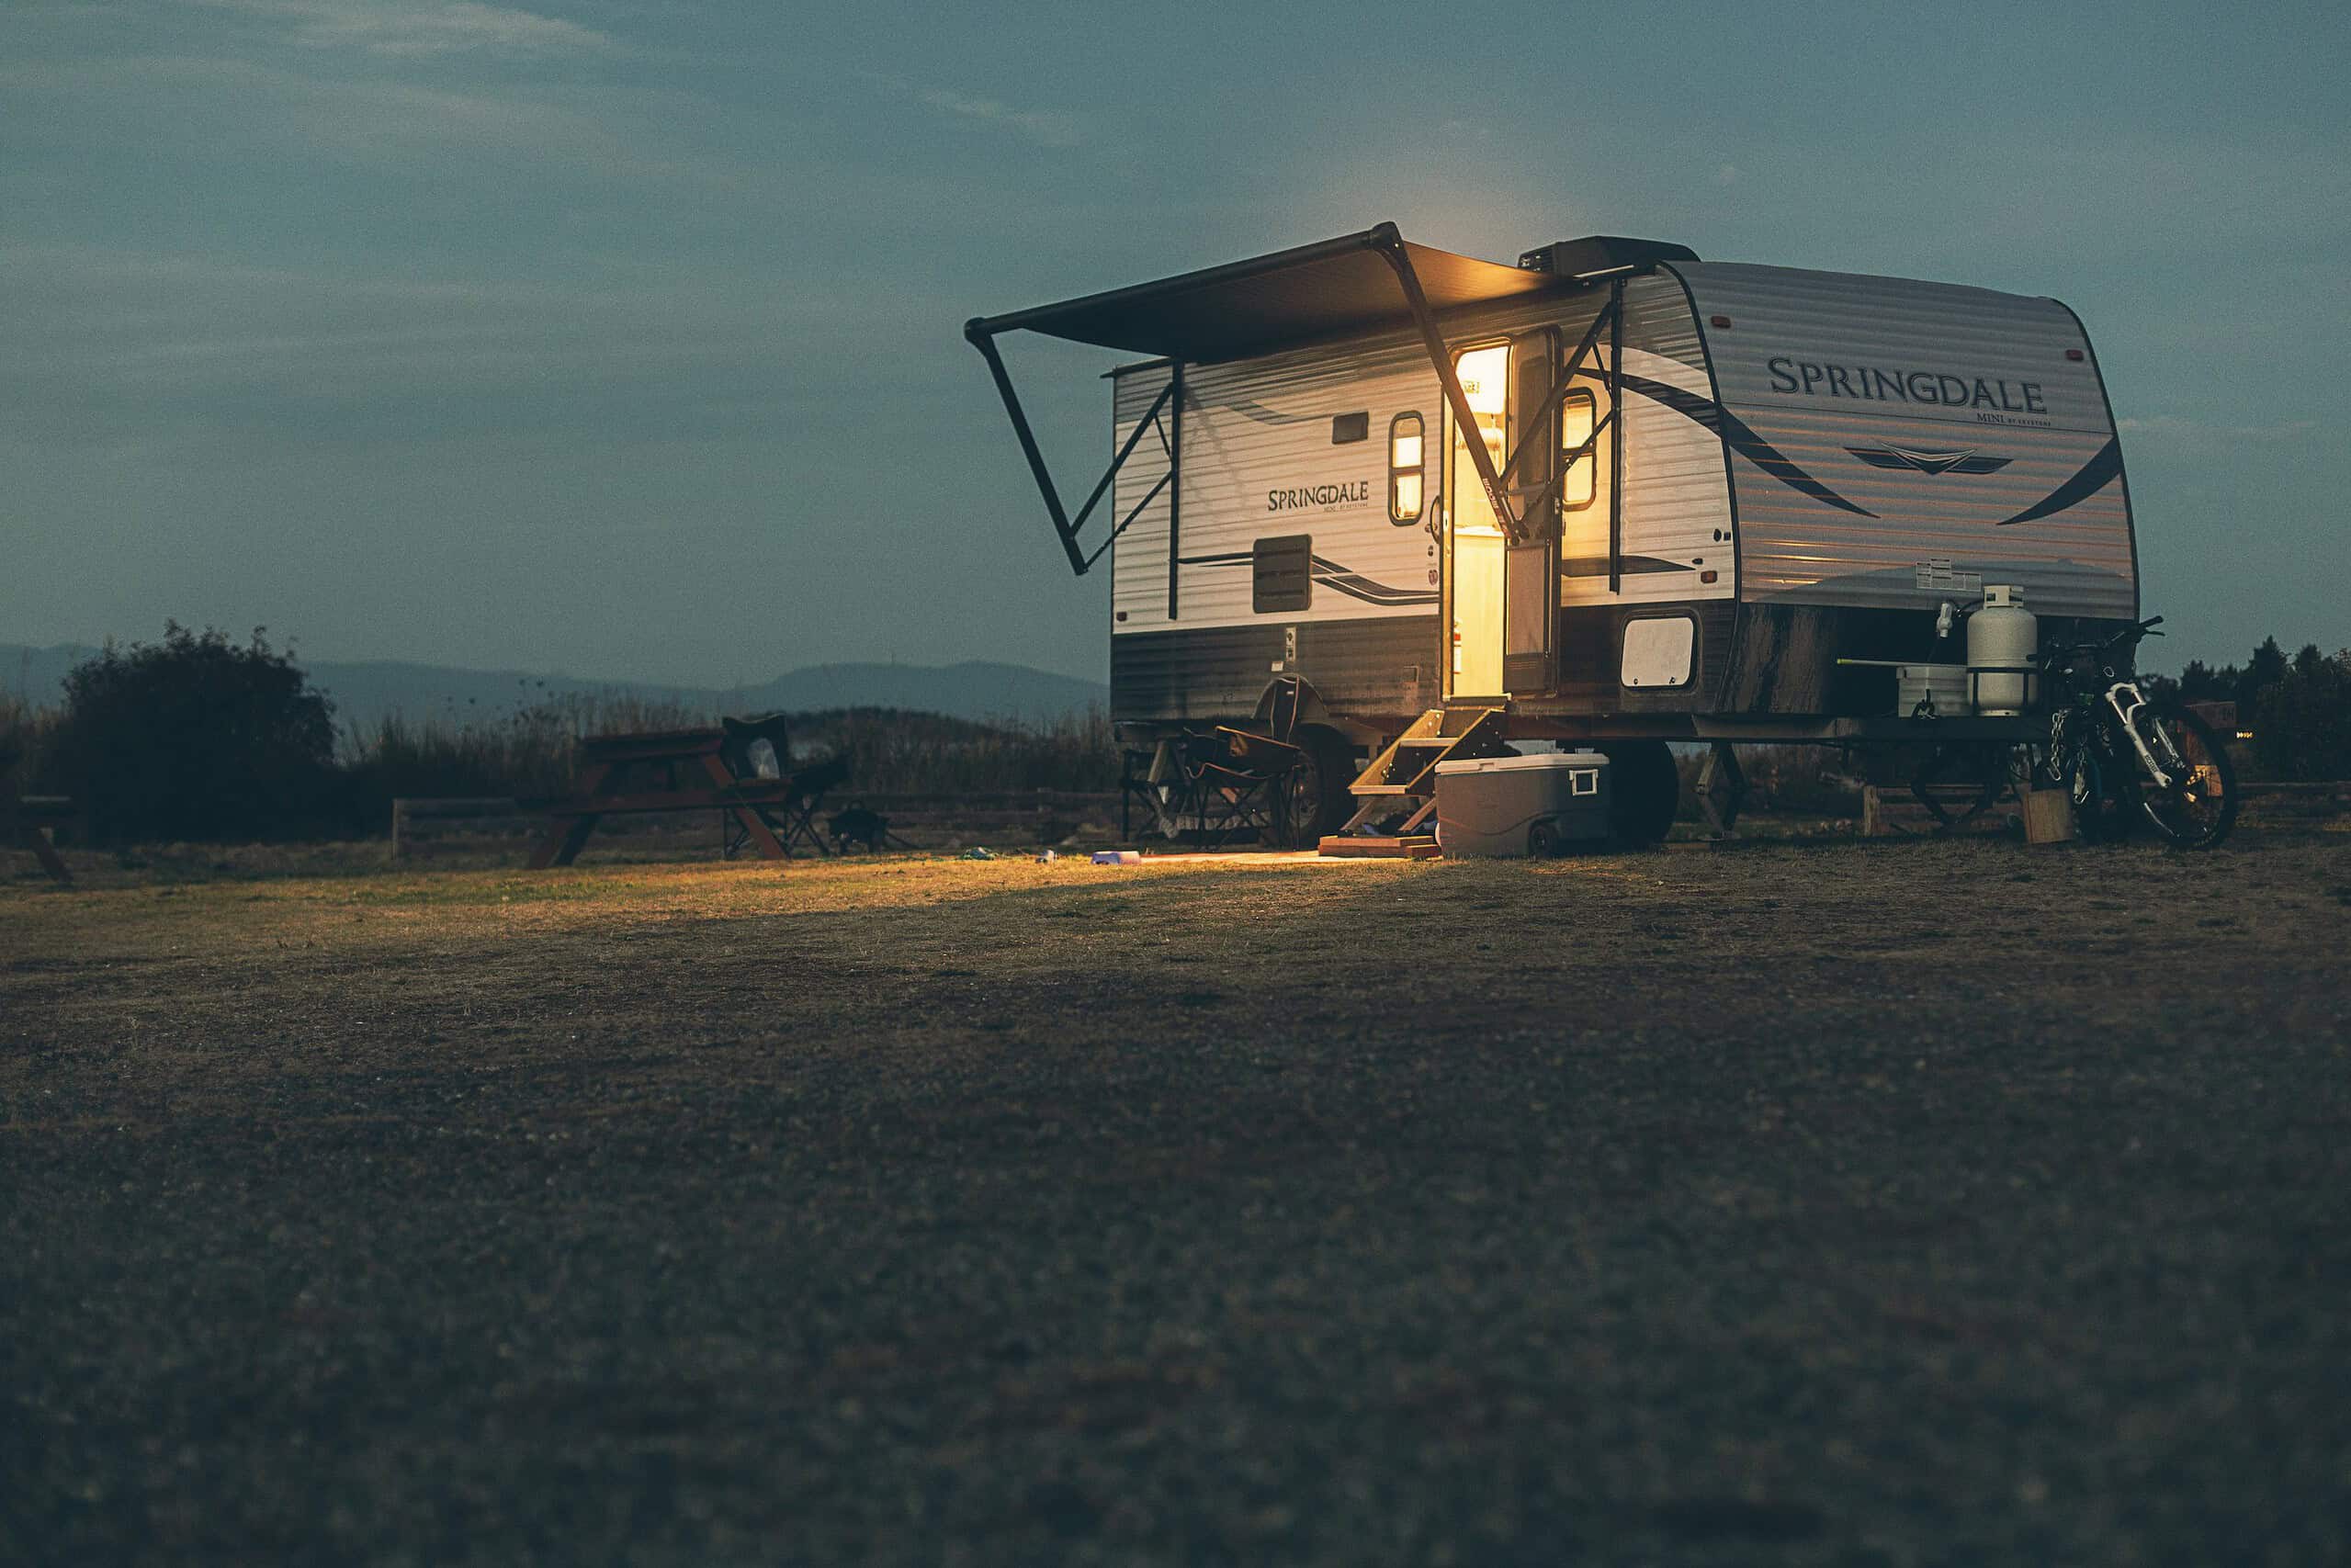
Travel-trailer campsite setup checklist: Before pulling out the camping chairs, take a few minutes to inspect your site, secure and level the trailer according to its manual, check the available utilities, and plan your departure. A repeatable arrival routine is especially useful at an unfamiliar campground, where tree branches, uneven ground and hookup locations can differ from the last place you stayed.
This guide is a practical arrival-to-departure checklist for towable travel trailers, not a substitute for your RV, hitch, appliance or campground instructions. Tasks involving hitching, electrical equipment, fuel systems or wastewater should be handled by a competent adult or qualified professional when appropriate. Start with the overview below, then use the detailed sections only where they apply to your trailer.
Quick answer: Check in → walk the site → position the trailer → secure and level it using the manufacturer’s procedure → check services and clearances → prepare the living space → respect the campground → inspect everything before leaving. Go RVing’s travel-trailer setup guide and Camping & RVing BC’s arrival checklist provide further context.
At a glance: arrival and departure checklist
| Stage | What to confirm | Why it matters |
|---|---|---|
| Before arrival | Reservation, site size, available hookups, forecast and park rules | Fewer surprises at check-in |
| On arrival | Clearance, ground condition, access to services and a safe parking position | Avoids having to reposition later |
| Trailer secured | Wheel chocks, level and stabilization as specified in your manual | Reduces movement and equipment strain |
| Ready to camp | Safe drinking water, approved power connection, equipment checks and space for neighbors | A more comfortable stay |
| Before leaving | Interior secured, exterior stowed, tow connection inspected and site cleaned | Helps prevent overlooked items |
1. Confirm the campsite before you drive in
Start with the campground office or your reservation confirmation. Check the site number, maximum trailer length, vehicle-parking rules, check-out time and whether the site offers electric, drinking water, sewer or no hookups. A reservation for a “serviced” site does not always mean a full-hookup site. Ask where to find potable water, restrooms and the designated dump station when those facilities are not at the pitch.
If you’re arriving late, locate the campground’s after-hours check-in procedure in advance. Check local weather, fire restrictions and quiet hours. For Canadian camping trips, Camping & RVing BC recommends verifying campsite facilities and access before positioning your rig.
2. Walk the site and look up, down and around
A short walk around the pitch is easier than moving a trailer after you have unpacked. Look for branches and overhead obstructions, uneven ground, soft edges, exposed roots, drainage paths, and obstacles near the door, awning or slide-outs. Consider where people will walk and where another camper’s space begins.
- Above: Check for low branches and other overhead clearance problems.
- Beside the trailer: Allow room for doors, steps, slide-outs and any awning permitted at the site.
- Underfoot: Notice slopes, muddy patches and places water could collect.
- At the utility side: Confirm the hookups are reachable without stretching or routing equipment across traffic areas.
- Around the site: Keep campground roads, trails and neighboring pitches unobstructed.
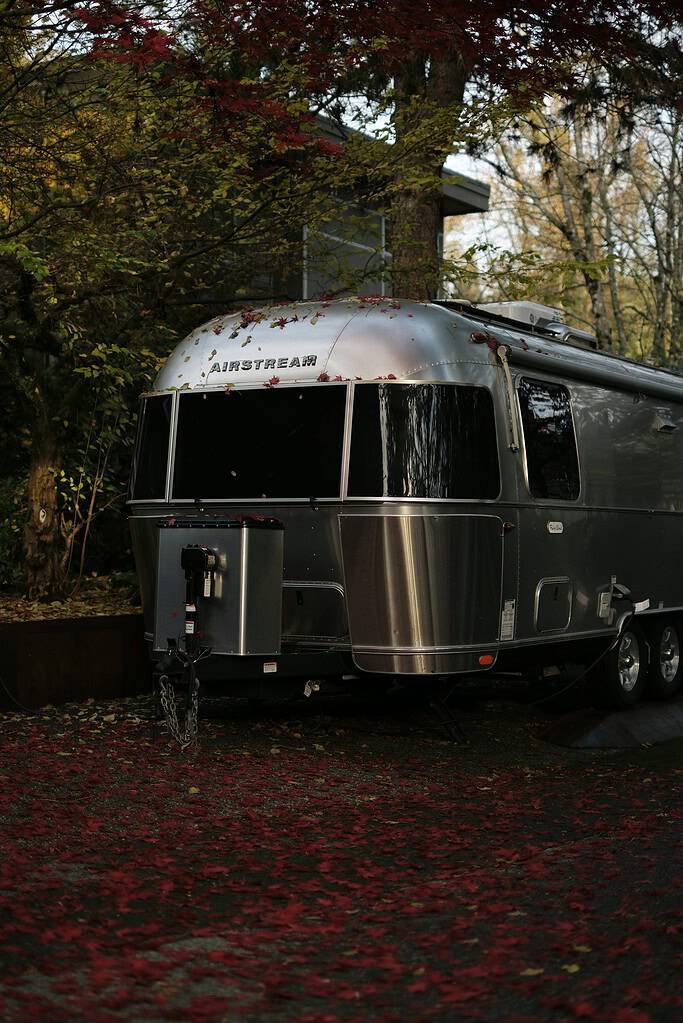
Example of a trailer in a tree-lined setting. Photo: Dmitry Spravko / Unsplash. Always check branch and side clearances before parking.
3. Position, secure and level the trailer
Before unhitching, follow the instructions for your particular tow vehicle, hitch and trailer. The general principle is to secure the trailer against movement, achieve the appropriate level with the equipment approved for your rig, and only then prepare the living area. Stabilizer jacks are for reducing movement, not for lifting or leveling the trailer. The safe order varies with trailer design and leveling equipment.
Our separate guide to leveling a travel trailer explains the distinction between leveling and stabilizing. For additional manufacturer guidance, see Lippert’s RV setup and tear-down checklist. Never treat between-wheel stabilizers as a substitute for the wheel chocks or parking arrangements required for your trailer.
4. Check the utilities without rushing
Drinking-water supply
Confirm that the campground’s water source is suitable for drinking before relying on it. Inspect drinking-water hoses and fittings for obvious damage, and follow the RV and accessory manufacturers’ instructions for connections, water pressure protection and tank maintenance. The CDC’s Safe RV Water guidance emphasizes knowing that the source water is safe, keeping the system maintained and understanding that an ordinary taste-and-odor filter may not remove germs.
Our RV fresh-water tank care guide covers common maintenance questions. Do not assume clear water is free of contamination, and do not use unknown-quality water for drinking or preparing food.
Shore power and other equipment
Before using shore power, confirm that your trailer’s electrical requirements match the facility and that the equipment is undamaged and appropriate for the location. Follow the equipment manual; if a pedestal, cord or connection looks unsafe, leave it unused and ask the campground operator or a qualified RV electrician for help. Use the same caution with fuel appliances, heaters and other systems, and keep safety detectors in working order.
Wastewater connections
Not every campsite has a sewer connection. Check the campground’s wastewater rules and use its designated facilities. Never discharge wastewater onto the ground. If you notice leaks or difficult-to-operate waste valves, consult an RV service professional and refer to our RV sewer-valve guide for background on sizes and replacement considerations.
5. Make the inside comfortable and safe
Once the trailer is positioned and its systems have been checked, inspect the inside for anything displaced during travel. Confirm that doors, windows, vents and slide-outs can be used as intended for your specific model. Check your fridge, climate controls and safety alarms according to their instructions, and keep essential items easy to reach. Avoid leaving loose belongings where they could block exits or fall.
An arrival routine is also a chance to notice signs of water intrusion. Look around windows, ceiling joints and storage areas, particularly after heavy rain. If you find moisture, identify the source and arrange repairs promptly rather than simply covering the stain.
6. Set up outdoors without taking over the campground
Chairs, a mat and a small seating area may make a pitch feel welcoming, but stay within the assigned space and follow campground rules about awnings, tents, generators, cooking equipment and lighting. Keep pathways clear. Know the posted quiet hours and secure food and rubbish as required by the campground.

Leave pathways clear and avoid cutting through another camper’s site. See our 12 campsite etiquette rules for a deeper explanation.
The National Park Service’s Leave No Trace guidance recommends camping on durable surfaces, respecting wildlife, minimizing campfire impacts, disposing of waste properly and being considerate of others. Local rules and fire bans always take precedence.
7. Adjust the checklist for weather and location
On rainy trips, watch the ground conditions before settling in. Parking where surface water is likely to collect can make the site uncomfortable and complicate departure. Keep rain gear accessible and avoid leaving fabric and outdoor equipment exposed unnecessarily. In windy conditions, follow the awning manufacturer’s restrictions. In freezing weather, consult your RV’s cold-weather operating instructions; some systems are not designed for winter use.
Coastal campers should check local weather, park regulations and closures before traveling. Our older Seaside, Oregon travel account includes links to official shellfish advisories, illustrating why site and activity rules should be checked for each visit.
8. Use a departure checklist before you move
Departure is where an easily missed item can cause an avoidable problem. Use a written list rather than relying on memory, particularly when several people share the packing. The tow vehicle’s and trailer’s manuals govern all hitching, roadworthiness and travel checks.
- Inside: Confirm cabinets and loose belongings are secured, appliances are set for travel and doors or windows are latched as required.
- Outside: Confirm the awning, steps, stabilizers and exterior compartments are secured for travel.
- Utilities: Confirm water, power and wastewater equipment have been safely disconnected, stowed and accounted for using their approved procedures.
- Towing: Have the responsible driver check the hitch, safety systems, tires, lights, mirrors and any towing equipment using the appropriate manuals.
- The campsite: Check beneath and around the trailer for gear, litter, pet waste and forgotten belongings. Leave the site in good condition.
A final walk-around should be a distinct step, not something done while other people are still packing. The Camping & RVing BC checklist also stresses checking for anything hanging loose or left behind before departure.
Common beginner mistakes to avoid
- Skipping the site walk: Check clearances before the trailer is positioned.
- Confusing stabilization with leveling: Different equipment has different weight and movement limits.
- Assuming every hookup is available: Confirm the site’s services before arriving.
- Forgetting neighbor space: Keep lights, noise, pets and parked vehicles within campground rules.
- Leaving departure to memory: Give yourself time for a deliberate final inspection.
Frequently asked questions
What should I check first when arriving with a travel trailer?
Confirm the assigned campsite and its facilities, then inspect the space for clearances, ground conditions and access to the available services. Do this before unpacking or deploying equipment.
Should a trailer be level before setting up the campsite?
Yes, follow the trailer maker’s instructions for positioning, securing and leveling before using equipment that requires the trailer to be level. Do not attempt to lift a trailer using stabilizer jacks.
Do I need a full-hookup site to use this checklist?
No. The arrival, clearance, leveling, campsite courtesy and departure sections apply to many serviced and unserviced sites. Omit irrelevant utility checkpoints and check where approved drinking water and waste facilities are located.
How can I make arrival and departure less stressful?
Keep a checklist that matches your own trailer and equipment. Use the same sequence each time, review any new campground rules, and leave enough daylight and time for inspections rather than rushing.
Planning your next RV stay? See our late-arrival guide, accessible campsite questions, and windy-weather decision guide before choosing a route and campsite.
Related guides and references
For more detail, continue with our guides to travel-trailer leveling, fresh-water system care, campsite etiquette and waste-valve maintenance. Additional reference material is available from Go RVing, Lippert and the National Park Service. Verify equipment-specific procedures against the current owner’s manuals.
Featured photo: Devon MacKay / Unsplash, Vancouver Island, British Columbia. Editorial update: October 25, 2026. No products were personally tested for this article.